Welcome to the Honeywell Pro Series Thermostat installation guide. This manual provides step-by-step instructions for installing, configuring, and operating your programmable thermostat. Designed for energy efficiency and ease of use, the Honeywell Pro Series offers advanced features like scheduling, remote access, and smart home integration.
Overview of the Honeywell Pro Series Thermostat
The Honeywell Pro Series Thermostat is a programmable and highly efficient temperature control system designed for residential and commercial use. It offers advanced features such as customizable scheduling, energy-saving modes, and compatibility with various HVAC systems. The thermostat is known for its user-friendly interface, backlit keypad, and ability to maintain consistent indoor temperatures.
One of its standout features is the ability to program heating and cooling schedules for the day, week, or year, allowing users to optimize energy usage and reduce utility bills. The T6 Pro Series model, for instance, supports Wi-Fi connectivity and smart home integration, enabling remote control through the Honeywell Home app. This feature allows users to adjust settings, monitor energy consumption, and receive alerts from their smartphones or tablets.
The thermostat is compatible with a wide range of HVAC systems, including single-stage, two-stage, and heat pump configurations. Its universal design ensures seamless integration with most existing heating and cooling setups. Additionally, the Honeywell Pro Series includes a comprehensive installation manual that guides users through the setup process, ensuring a smooth and hassle-free experience.
With its focus on energy efficiency, ease of use, and advanced connectivity options, the Honeywell Pro Series Thermostat is an excellent choice for homeowners and businesses seeking to modernize their temperature control systems. Its robust features and intuitive design make it a reliable solution for maintaining comfort and optimizing energy performance.
Benefits of Using the Honeywell Pro Series Thermostat
The Honeywell Pro Series Thermostat offers numerous benefits that enhance comfort, convenience, and energy efficiency. One of its primary advantages is its programmable scheduling feature, which allows users to set specific temperature profiles for different times of the day or week. This capability not only ensures consistent comfort but also helps reduce energy consumption by avoiding unnecessary heating or cooling when spaces are unoccupied.
Another significant benefit is its compatibility with smart home systems. Models like the T6 Pro Series can be integrated with the Honeywell Home app, enabling users to control their thermostat remotely. This feature is particularly useful for adjusting settings while away from home, ensuring that the system operates efficiently and effectively.
The thermostat also boasts energy-saving modes, such as its ability to lock out certain settings, which prevents unauthorized changes and maintains optimal energy usage. Additionally, the Honeywell Pro Series is designed to work seamlessly with a wide range of HVAC systems, including single-stage, two-stage, and heat pump configurations, making it a versatile solution for various heating and cooling needs.
Overall, the Honeywell Pro Series Thermostat provides a reliable, user-friendly, and energy-efficient way to manage indoor temperatures, making it an excellent choice for homeowners and businesses alike. Its advanced features and compatibility with modern smart home technologies further enhance its value, ensuring long-term satisfaction and performance.
Components Included in the Package
The Honeywell Pro Series Thermostat package includes everything needed for a seamless installation and setup process. Inside the box, you will find the T6 Pro Series Thermostat itself, which features a sleek design and user-friendly interface. Additionally, the package includes the UWP Mounting System, designed to simplify wall mounting and ensure secure placement of the thermostat.
A decorative cover plate is also provided to enhance the appearance of the installation and cover any gaps left by previous thermostats. The package further contains screws and anchors for securing the thermostat to the wall, along with 2 AA batteries to power the device. For reference, the thermostat comes with a detailed installation instructions manual, guiding you through every step of the process.
These components are carefully selected to ensure a hassle-free installation experience. The UWP Mounting System, for instance, allows for easy wire management and adjustments, while the decorative cover plate adds a finishing touch to the setup. With all necessary hardware and documentation included, the Honeywell Pro Series Thermostat package is designed to meet your heating and cooling control needs effectively.
System Requirements
The Honeywell Pro Series Thermostat is designed to work with various HVAC systems, requiring a compatible voltage supply. It supports standard heating and cooling systems, including single-stage and multi-stage setups. Proper installation ensures optimal performance, and the thermostat must be connected to a suitable power source.
Compatibility with HVAC Systems
The Honeywell Pro Series Thermostat is designed to be compatible with a wide range of HVAC systems, making it a versatile choice for various heating and cooling configurations. It supports both single-stage and multi-stage systems, ensuring optimal performance regardless of your home’s setup. Whether you have a traditional gas furnace, heat pump, or radiant cooling system, this thermostat can seamlessly integrate with your existing infrastructure. Additionally, it is compatible with both 24VAC and millivolt systems, providing flexibility for different electrical setups. The thermostat also works with conventional and heat pump systems, allowing for precise temperature control and energy efficiency. Furthermore, its compatibility extends to dual-fuel systems, where it can switch between gas and electric heat sources based on temperature demands. This broad compatibility ensures that the Honeywell Pro Series Thermostat can be installed in most residential HVAC environments, offering reliable performance and advanced features for enhanced comfort. By supporting such a wide array of systems, the Honeywell Pro Series Thermostat is an excellent choice for homeowners seeking a modern, efficient, and adaptable temperature control solution.
Voltage and Power Requirements
The Honeywell Pro Series Thermostat is designed to operate within standard household voltage systems, ensuring compatibility and safety during installation. It requires a 24VAC power supply, which is typical for most HVAC systems. The thermostat can be powered directly from the heating and cooling system’s transformer, eliminating the need for a separate power source in many cases. For systems without a common wire (C-wire), the Honeywell Pro Series includes an adapter to ensure proper functionality. This adapter allows the thermostat to operate efficiently even in older homes where a C-wire may not be present. The thermostat also supports dual-power options, meaning it can function with either a battery or a hardwired connection, providing flexibility during installation. Additionally, it is compatible with both 24VAC and millivolt systems, making it suitable for a wide range of heating and cooling configurations. Always ensure the power is turned off at the circuit breaker before starting the installation to avoid any electrical hazards. By adhering to these voltage and power requirements, you can ensure a safe and reliable installation of your Honeywell Pro Series Thermostat. This design ensures universal compatibility and ease of use, making it an ideal choice for modern and traditional HVAC systems alike.
Supported HVAC System Types
The Honeywell Pro Series Thermostat is designed to work seamlessly with a wide variety of HVAC systems, ensuring compatibility and optimal performance in different home setups. It supports single-stage, two-stage, and multi-stage heating and cooling systems, making it a versatile option for both simple and complex configurations. Additionally, it is compatible with heat pumps, dual fuel systems, and geothermal systems, offering flexibility for eco-friendly and energy-efficient setups. The thermostat also works with gas, oil, and electric furnaces, as well as radiant floor heating systems. For systems requiring precise temperature control, the Honeywell Pro Series supports zone control systems, allowing for customized heating and cooling in different areas of the home.
The thermostat is also compatible with millivolt systems, such as those used in older homes or specific heating setups. Its universal design ensures it can integrate with most standard HVAC systems, including those with auxiliary heat and emergency heat functions. With its wide range of compatibility, the Honeywell Pro Series Thermostat is an ideal solution for homeowners looking to upgrade their heating and cooling control without worrying about system limitations. This versatility makes it a reliable choice for both new installations and retrofits.
Pre-Installation Steps
Before installing your Honeywell Pro Series Thermostat, ensure you have a clear understanding of the process. Begin by verifying system compatibility and gathering all necessary tools and materials. Review the wiring diagram to identify connections and plan accordingly. Always disconnect power to the HVAC system before starting work to ensure safety.
Understanding the Wiring Diagram
The wiring diagram is a crucial tool for installing your Honeywell Pro Series Thermostat. It provides a visual representation of the connections between the thermostat and your HVAC system. Begin by identifying the common wire (C), which powers the thermostat. The heating stage is typically connected to the W or W1 terminal, while the cooling stage uses the Y terminal. If you have a fan, it will connect to the G terminal. For heat pumps, the O and B terminals are used. Ensure all wires are securely connected to their respective terminals to avoid malfunctions. If your system includes additional features like humidity control or zoning, refer to the diagram for specific wiring instructions. Always turn off the power to your HVAC system before handling wires to prevent electrical shock. If you’re unsure about any connections, consult a licensed professional. Proper wiring ensures reliable operation and safety.
Tools and Materials Needed
Before starting the installation of your Honeywell Pro Series Thermostat, ensure you have all the necessary tools and materials. The thermostat package includes the main unit, a UWP mounting system, a J-box adapter, a decorative cover plate, screws, and anchors. Additionally, you will need a few basic tools: a screwdriver (both flathead and Phillips), pliers, a voltage tester, a drill with bits, and a level to ensure proper mounting. For safety, wear gloves and protective eyewear when handling electrical components.
Optional materials include painter’s tape for marking wire locations and a drywall anchor if mounting on a hollow wall. If your system requires additional wiring, have insulated wire strippers handy. Ensure you have a ladder or step stool if the installation location is out of reach. Always disconnect power to the HVAC system before starting work. For smart models, a smartphone with the Honeywell Home app and an active Wi-Fi connection are necessary for setup. Having all tools and materials ready will streamline the installation process and minimize downtime.
Safety Precautions
Safety is paramount when installing the Honeywell Pro Series Thermostat. Always disconnect power to the HVAC system at the circuit breaker or fuse box before starting work. Verify the power is off using a voltage tester to avoid electrical shock. Wear protective gear, including insulated gloves and safety glasses, to prevent injury from sharp edges or accidental electrical discharge.
Ensure the thermostat is installed in a location with good airflow and away from direct sunlight or moisture. Avoid touching electrical components with bare hands, as static electricity can damage the thermostat. If you are unsure about any step, consult a licensed electrician to prevent system damage or safety hazards.
For smart models, ensure the Wi-Fi network is secure to protect your thermostat from unauthorized access. Follow all manufacturer guidelines and local electrical codes to ensure a safe and proper installation. By adhering to these precautions, you can install your Honeywell Pro Series Thermostat securely and enjoy efficient temperature control.
Mounting and Wiring
Begin by preparing the wall with the included UWP mounting system for a secure fit. Level the thermostat to ensure proper installation. Connect the wires according to the wiring diagram, matching each terminal to its corresponding function. Turn the power back on to test the system.
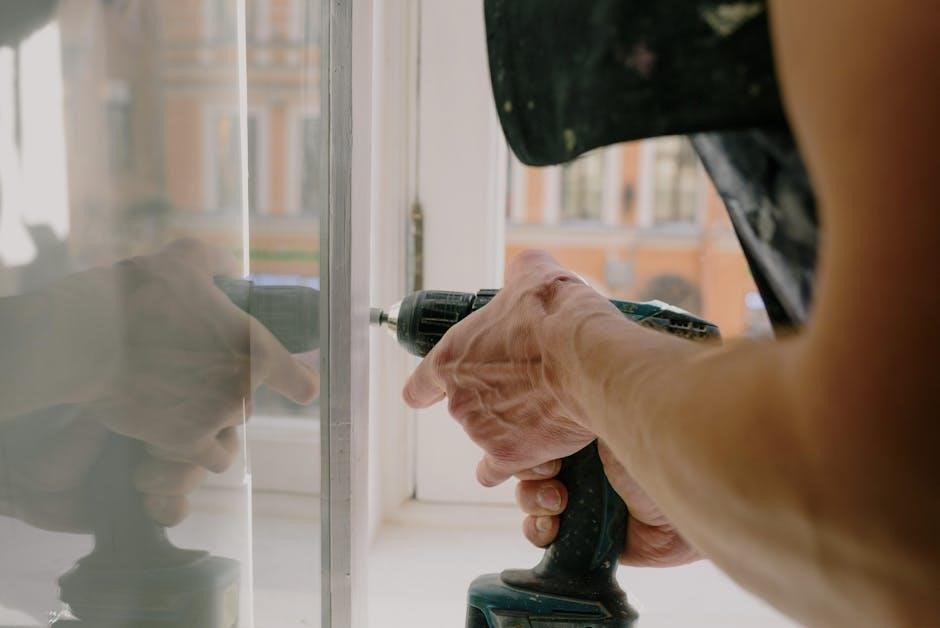
Preparing the Wall for Installation
Before mounting the Honeywell Pro Series Thermostat, ensure the wall is properly prepared. Locate the area where the thermostat will be installed, typically near the previous thermostat or a central location for optimal performance. If installing in a new location, consult the wiring diagram to determine the best placement.
Check the Wall Type: Determine if the wall is drywall, plaster, or another material. This will affect the type of anchors or screws needed for secure mounting. Use the provided screws and anchors for drywall or plaster walls.
Level the Surface: Ensure the wall is level to guarantee proper installation and operation of the thermostat. If the wall is uneven, use the optional decorative cover plate to cover any gaps or imperfections.
Mark the Wall: Use the UWP mounting system template or the back of the wallplate to mark the screw holes on the wall. This ensures accurate placement and alignment.
Drill Pilot Holes (if necessary): For thicker walls or plaster, drill pilot holes to avoid cracking the wall. Insert the provided anchors into the holes before screwing in the wallplate.
Secure the Wallplate: Attach the wallplate to the wall using the screws and anchors. Tighten firmly to ensure stability.
Prepare for Wiring: Once the wallplate is secure, route the wires through the wire hole in the wallplate. Ensure no wires are pinched or damaged during this process.
By following these steps, you’ll ensure a stable and secure installation surface for your Honeywell Pro Series Thermostat. If you’re replacing an old thermostat, remove it carefully and discard any unnecessary wiring or materials. Always disconnect power before starting the installation.
Mounting the Thermostat
Once the wall is prepared and the wallplate is securely installed, proceed to mount the Honeywell Pro Series Thermostat. This step requires careful alignment and attention to detail to ensure proper functionality.
Remove the Wallplate: If replacing an old thermostat, gently pull the wallplate away from the wall. For a new installation, skip this step.
Align the Thermostat: Take the Honeywell Pro Series Thermostat and align its mounting tabs or screw holes with the wallplate’s screw holes. Ensure the display is facing the correct direction for easy viewing.
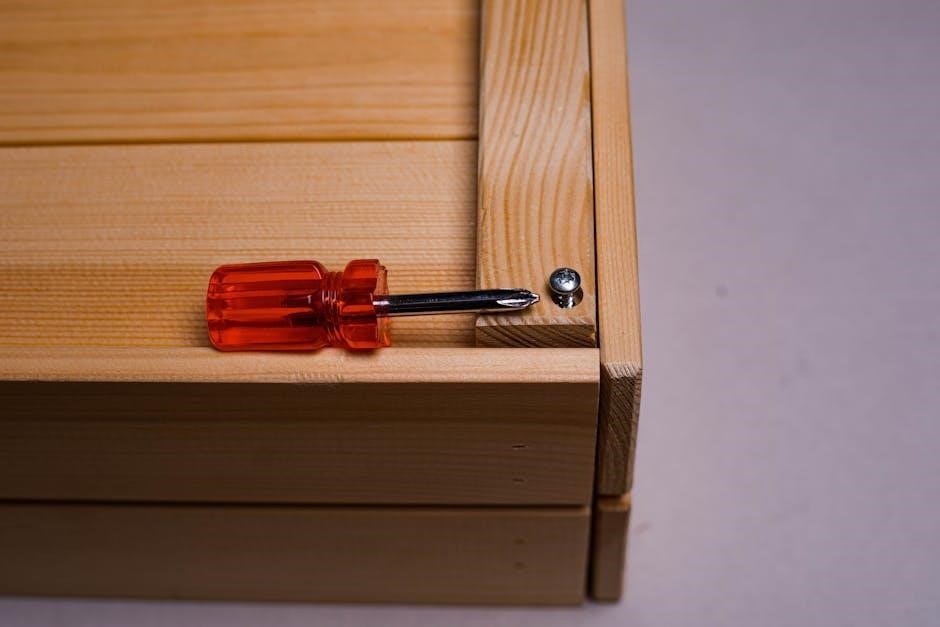
Attach the Thermostat: Use the provided screws to secure the thermostat to the wallplate. Tighten them firmly but avoid over-tightening, which could damage the device.
Ensure Proper Fit: Check that the thermostat sits flush against the wallplate and is level. If necessary, adjust the alignment slightly before final tightening.
Connect the Wires: After securing the thermostat, connect the wires to the appropriate terminals as per the wiring diagram. This step is critical for the thermostat to function correctly.
Reattach the Wallplate (if removed): If you removed the wallplate earlier, reattach it now, ensuring all screws are securely tightened.
By following these steps, the Honeywell Pro Series Thermostat will be mounted securely and ready for wiring and configuration. Always refer to the wiring diagram for specific instructions related to your system type.
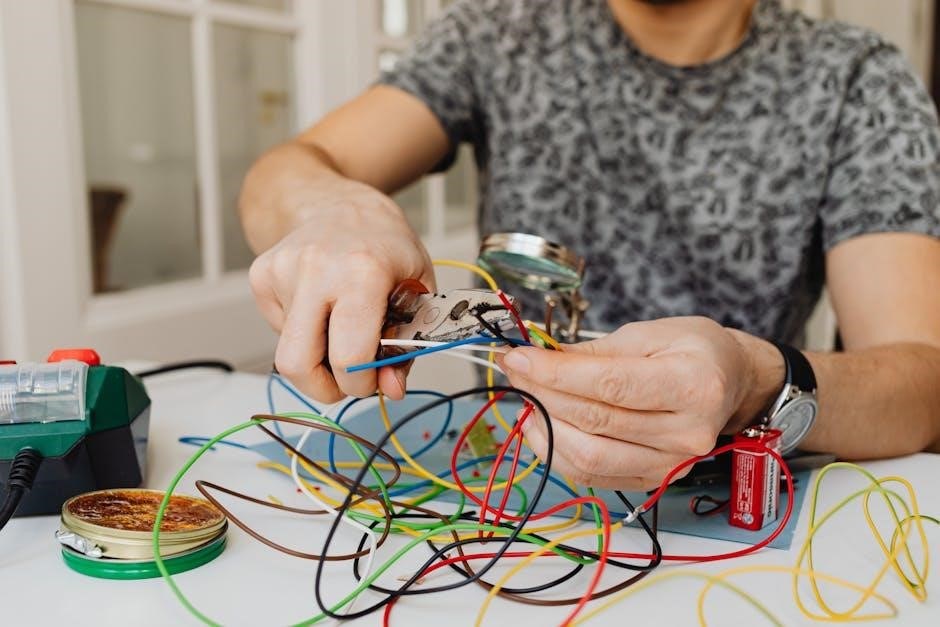
Connecting the Wires
Connecting the wires is a critical step in the installation process of the Honeywell Pro Series Thermostat. Before proceeding, ensure the power to your HVAC system is turned off at the circuit breaker or fuse box to avoid any electrical hazards.
Refer to the Wiring Diagram: Locate the wiring diagram provided in the installation manual or on the thermostat’s packaging. This diagram will guide you in identifying the correct terminals for your system.
Identify the Terminals: The Honeywell Pro Series Thermostat typically uses the following terminals:
― R: 24V AC power from the transformer (usually connected to the Rh or Rc terminal).
⎼ W: Heating stage (for gas furnaces, heat pumps, or electric heat).
― Y: Cooling stage (for air conditioning or heat pumps).
― G: Fan (controls the blower motor).
⎼ C: Common (required for proper thermostat operation).
― O or B: Reversing valve for heat pumps.
Connect the Wires: Carefully connect each wire to the corresponding terminal on the thermostat. Ensure the connections are secure and not loose.
Double-Check Connections: Verify that all wires are connected correctly by cross-referencing with the wiring diagram.
Restore Power: Once all connections are confirmed, turn the power back on at the circuit breaker or fuse box.
By following these steps, you can safely and accurately connect the wires for your Honeywell Pro Series Thermostat, ensuring proper system operation. If you are unsure about any connection, consult the manual or contact a licensed HVAC technician for assistance.
Configuring the Thermostat
Configuring your Honeywell Pro Series Thermostat involves setting up basic and advanced features to optimize performance. Start by setting your preferred temperature, scheduling heating/cooling cycles, and enabling energy-saving modes. Use the Honeywell Home app for remote access and smart home integration. Ensure all settings align with your HVAC system type for seamless operation.
Basic Configuration Settings
The Honeywell Pro Series Thermostat’s basic configuration settings allow you to customize its operation to suit your needs. Start by setting the time and date, ensuring accurate scheduling. Next, choose your preferred temperature scale (Fahrenheit or Celsius) and set the temperature range limits to avoid extreme settings. Select the HVAC system type (e.g., heat pump, gas furnace) to ensure compatibility. Configure the fan settings, such as auto or manual operation, for consistent airflow. Additionally, set up the filter reminder to track when your air filter needs replacement. These settings provide a foundation for efficient and comfortable temperature control. Use the keypad or the Honeywell Home app to access these options and tailor your thermostat’s performance to your lifestyle. Properly configuring these settings ensures optimal energy efficiency and system reliability.
Enabling Advanced Features
To unlock the full potential of your Honeywell Pro Series Thermostat, enable its advanced features. Start by downloading and installing the Honeywell Home app, which allows remote access and smart home integration. Through the app, you can enable features like geofencing, which adjusts the temperature based on your location, and smart recovery, which pre-cools or pre-heats your home to reach your desired temperature by your scheduled time. Additionally, enable energy-saving modes to optimize heating and cooling usage when the home is unoccupied.
If your thermostat supports voice control, link it with Amazon Alexa or Google Assistant via the app. For added security, enable the lockout feature to prevent unauthorized changes to settings. Ensure your thermostat is connected to Wi-Fi to access these advanced features. Refer to the app’s settings menu to explore and activate additional options tailored to your preferences. By enabling these features, you can enhance convenience, energy efficiency, and overall system performance.
Testing the Thermostat
After completing the installation and configuration, it’s essential to test your Honeywell Pro Series Thermostat to ensure it operates correctly. Begin by switching the system on and verifying that the display lights up and responds to button presses. Check that the thermostat accurately reflects the room temperature and adjust it to test heating and cooling modes.
Next, ensure the thermostat communicates properly with your HVAC system. Set the thermostat to a higher temperature in heating mode and observe if the heating system activates. Repeat this process for cooling mode to confirm the system responds as expected. Test any programmed schedules to ensure the thermostat transitions between settings at the correct times.
If your model supports advanced features like geofencing or smart recovery, enable these through the Honeywell Home app and test their functionality. Verify that the thermostat can detect your location and adjust the temperature accordingly. Additionally, check the smart recovery feature by setting a future temperature and ensuring the system begins cooling or heating in advance to reach the desired temperature on time. Finally, review the thermostat’s energy usage reports to ensure it’s operating efficiently. By thoroughly testing these features, you can confirm that your Honeywell Pro Series Thermostat is installed and configured correctly.